I’m so excited to finally be writing this blog post. There’s been a lull in our DIY home renos due to the hectic holiday season, and all of the travelling that goes along with it. But alas, it is January, which is the slowest time of year for me, so obviously I wanted to start another project. The project of choice was (drumroll please….) stencilling our front hall tiles!
I do have to say Bryan wasn’t quite as enthused as I was. January for him is the exact opposite – it’s his busiest and most stressful month of the year. The last thing he wanted to do was anything DIY related. I eventually convinced him with puppy dog eyes and a promise that it would be my project (re: I would do most of the work). Well…Bryan knew something I didn’t (and he still agreed – what an angel)…Here are the details –
The Who: Bree and Bryan using Cutting Edge Stencils
The What: Stencilling old tiles
The Where: Our front hallway, which essentially connects all rooms in the house
The When: One weekend (or so I thought).
The Why: The tiles in the hallway were old and outdated. Eventually we are going to tear down the kitchen wall to create an open concept space, at which point we’ll also redo the floors. Due to budget constraints, that likely won’t happen for another 6 – 9 months, so we decided to spruce up the tiles ourselves in the meantime, in a much more budget friendly manner!
Here’s what we used to create our dream tiles for less than $300:
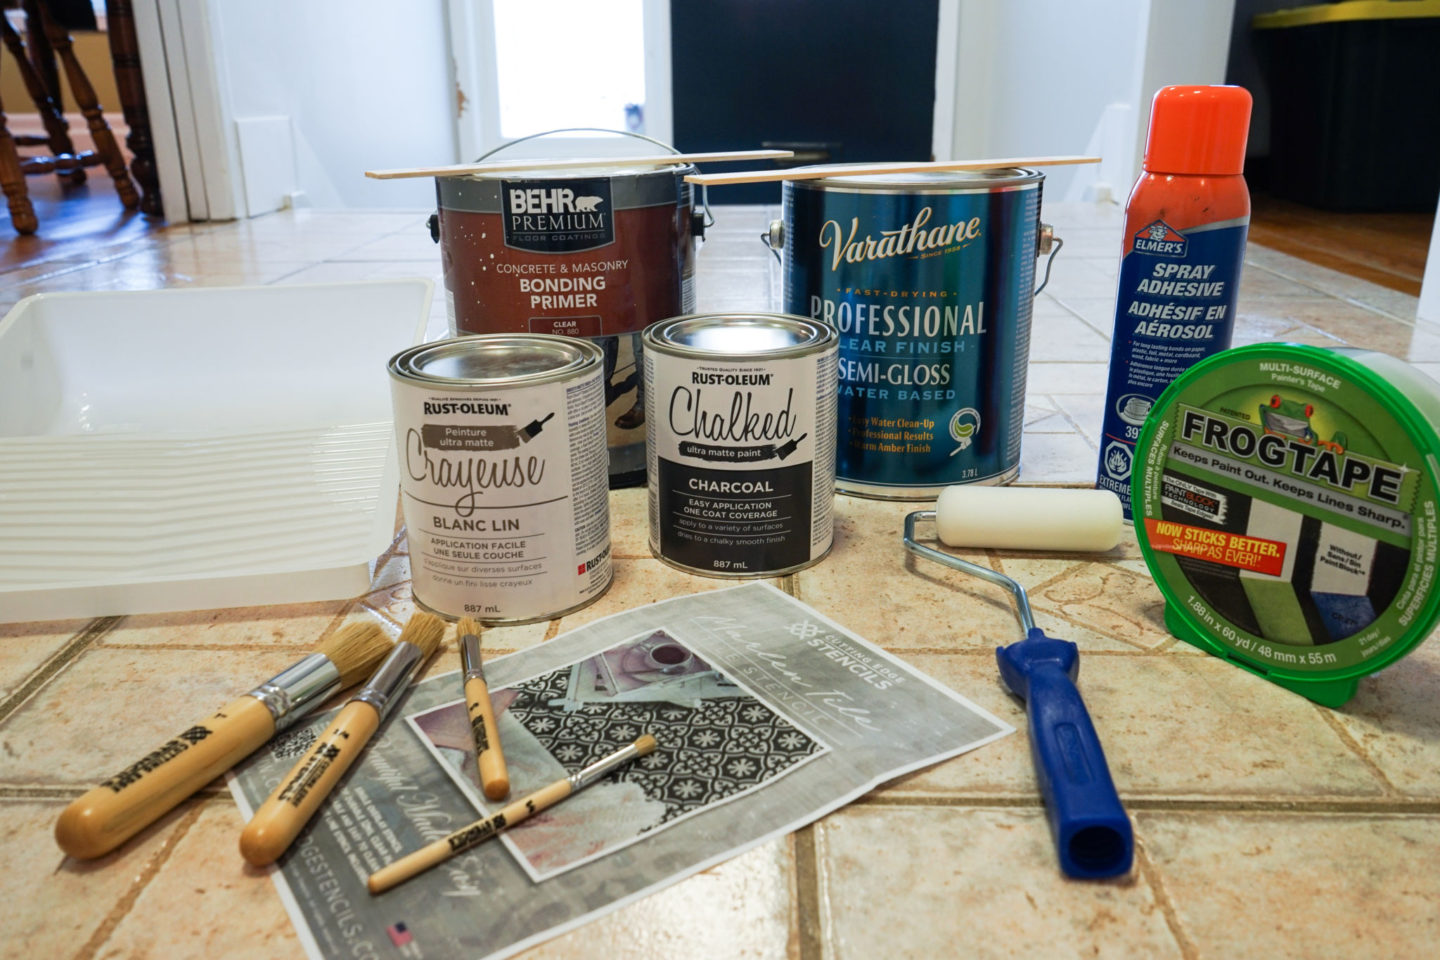
- Behr Bonding Primer
- Rust-Oleum Chalkboard paint in Charcoal and Linen White
- Water-Based Semi Gloss Varathane
- Frog Tape
- 4” Dense Foam Roller and 4 piece Stencil Brush Kit from Cutting Edge Stencils
- Marlen Tile Stencil from Cutting Edge Stencils
- Paint Tray
- Spray Adhesive – Optional (we purchased this and didn’t end up using it)
Alright, now the fun part begins!
STEP ONE is to ensure the surface is clean. Many sites recommended a heavy duty cleaner, but we just mopped the area with a basic all purpose cleaner after sweeping, and found it did the trick. (Note – if you’re stencilling a high traffic area that gets dirty easy, definitely worth cleaning with a TSP cleaner).
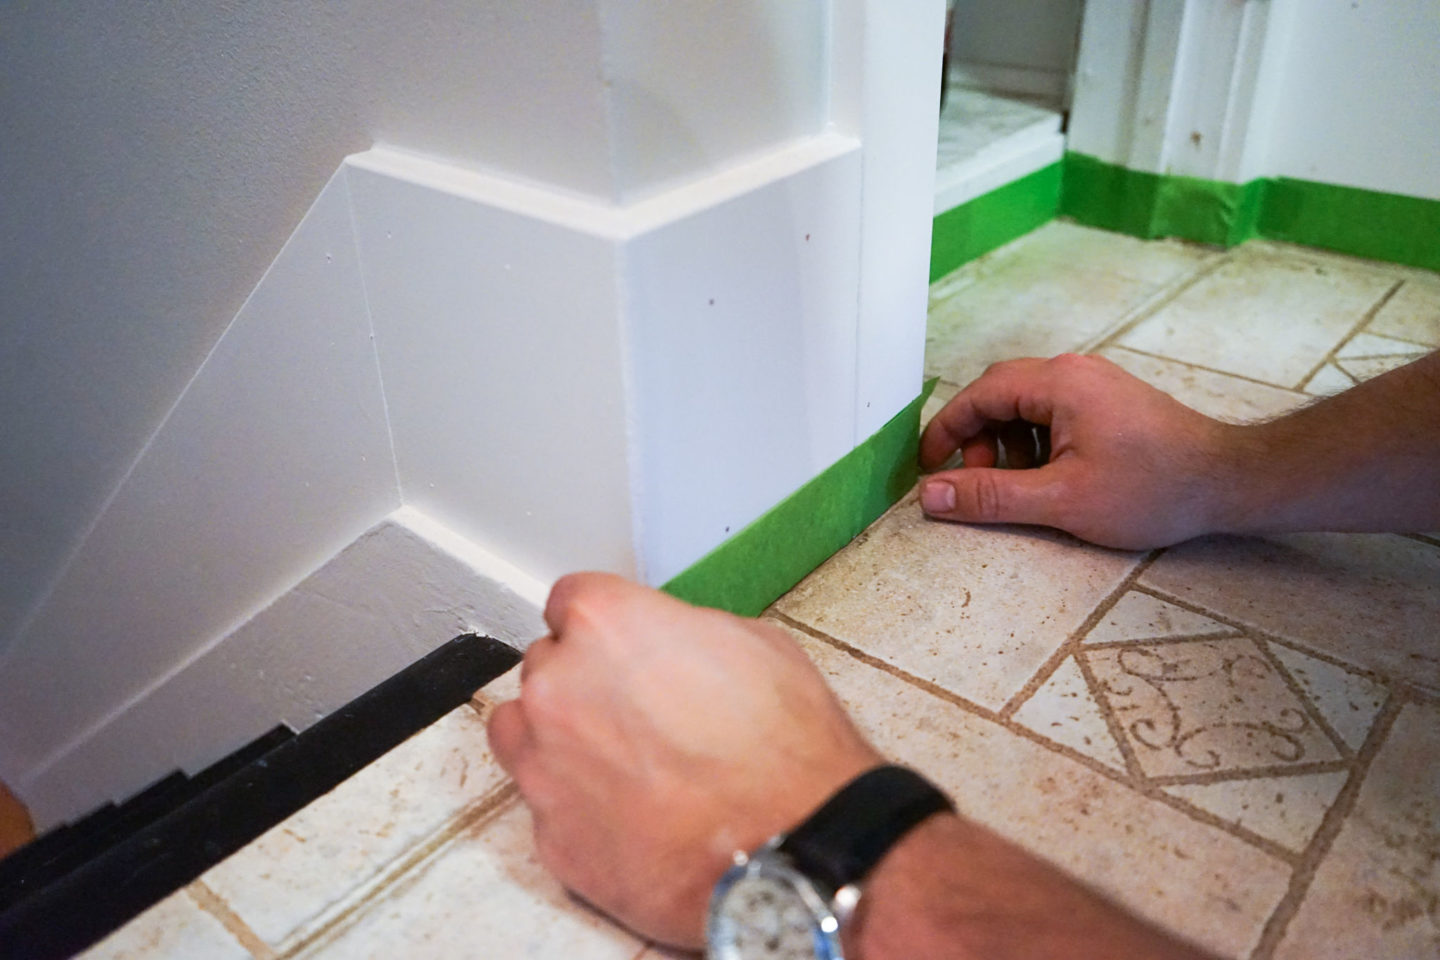
STEP TWO is to use a low tack painters tape to mask off your baseboards and any area that is not meant to be painted. Don’t skip this step, as it will make your life so much easier come paint time. We left our tape on for multiple days, and it was removed with no problem – so don’t worry if you have to leave it on longer than a day or two.
STEP THREE is to prime the tiles with a bonding primer. We ended up doing two coats of primer on the area. This step is important for tough to paint surfaces such as tile. It makes the surface slightly tacky, so that the paint will actually stick to it. It dried very quickly, and we only waited about 30 minutes between coats.
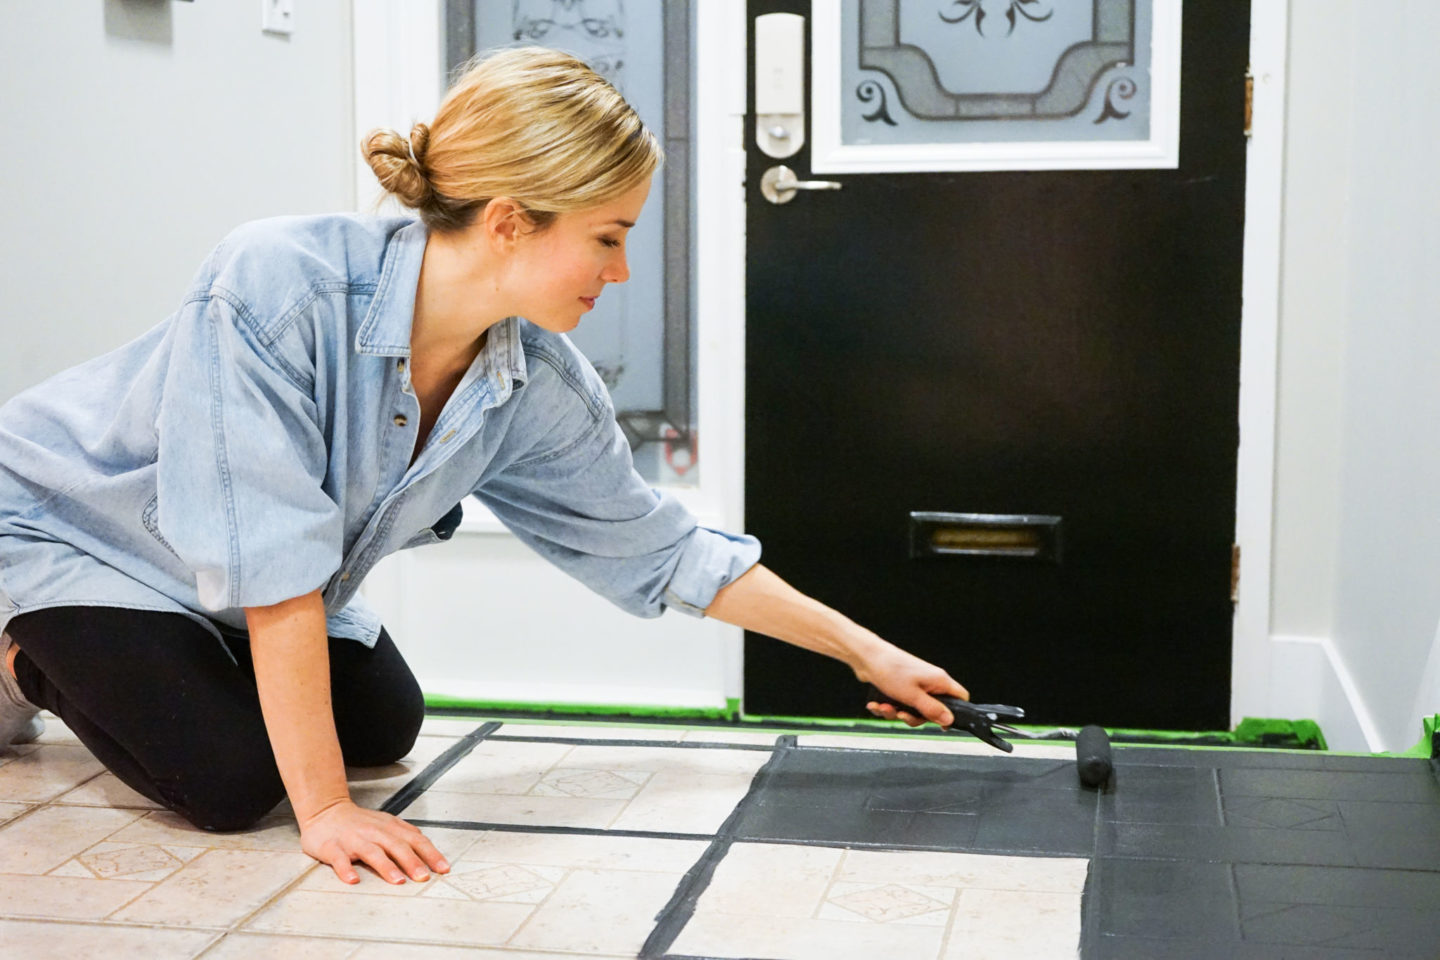
STEP FOUR is to apply the base coat using a 4” dense foam roller. We waited about two hours after the second primer coat before doing this, just to be safe. The can suggests you only need one coat of the chalkboard paint, but we definitely found that we needed two. This paint also dried very quickly, and was ready for a second coat in under two hours! We used one of the small stencil brushes to paint the grout lines.
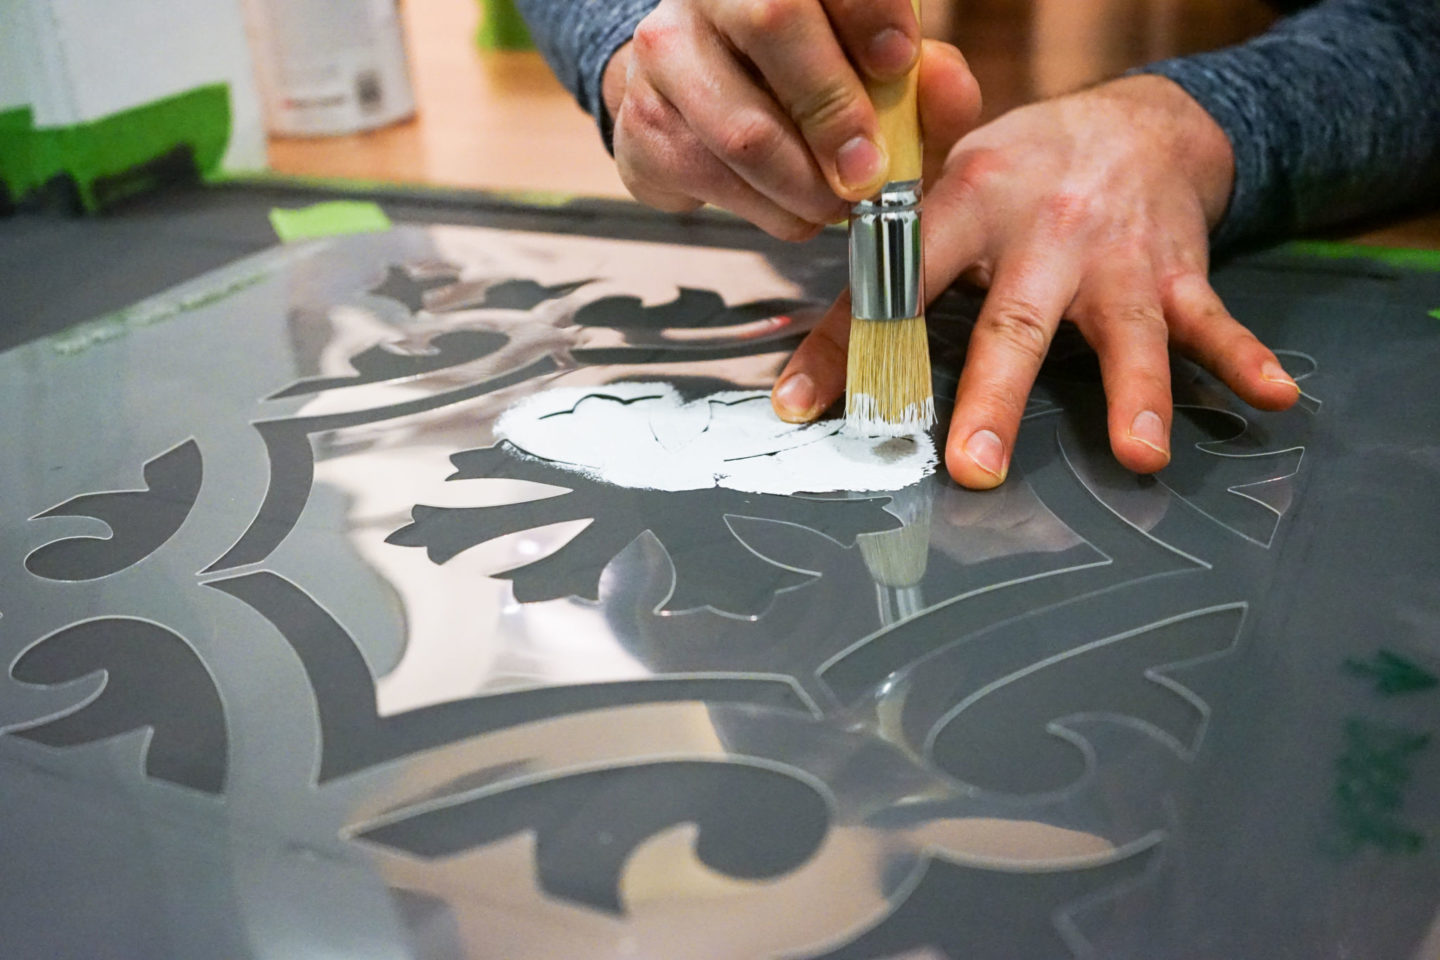
STEP FIVE is to begin stencilling! There are two ways to do this. You can use a spray adhesive on the back of the stencils in order to keep them in place while you’re painting. This requires waiting 3 – 5 minutes for the adhesive to dry before placing it on the floor, otherwise you risk lifting the base coat off when you remove the stencil. We didn’t want to risk that, so we decided to try just taping the corners first. Success! That technique worked perfectly, so we just decided to stick with it for the remainder of the floor. While you can use a dense foam roller over the stencils, we decided to use the Cutting Edge Stencils brushes to dab the paint on. It seemed like it would create crisper lines, and generally be less messy. It is likely more time consuming, but we definitely felt like we had more control over the process by using the brushes. We did a single coat of the white paint for the stencils.

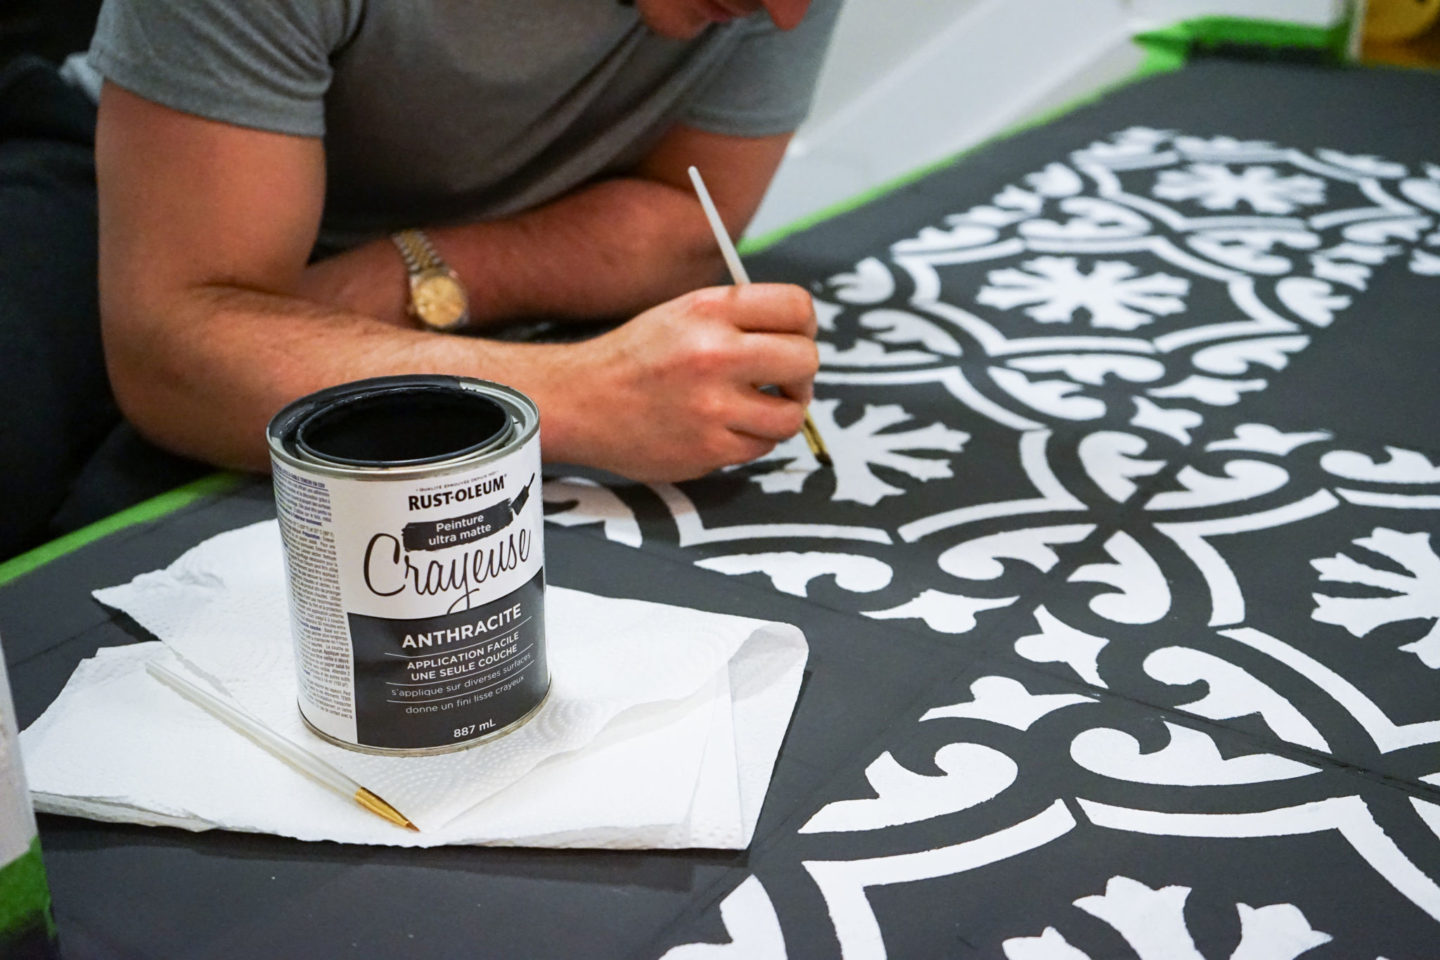
STEP SIX is to go back over the tiles and do touch ups. Some tiles barely needed anything, while others had a fair amount of bleed. We took a small angle brush dipped in the base coat colour and cleaned up the edges of the stencilled pattern where needed. The amount of time this step takes is really up to you and how “perfect” you want each tile to be. From afar, our tiles looked great after the stencilling stage! But up close, you could see the imperfections. As Bryan is very detail oriented, we were pretty obsessive over each tile, so this stage was quite time consuming for us.
STEP SEVEN is to coat the tiles with a water based polyurethane. This step is important to protect the floor and keep it looking new and fresh for a long time! We applied three coats of Varathane, using a standard paint brush. The wait time between coats was two hours – which was so worth it after that final coat was applied and the project was officially complete!!
*TIPS*
- If you’re going to take a break from painting or stencilling longer than an hour, rinse the stencil brushes. The chalkboard paint is thick and dries quickly, and stiff brushes make for messy stencil jobs!
- Rinse and scrape the built up paint off the stencil at the end of every night. Especially when dabbing the paint using a stencil brush, a layer of paint builds up which prevents the stencil from laying flat (therefore leading to paint bleeding during stencilling).
- In order to keep the floor unmarked during the process, only walk on it with clean socks, and try to avoid touching it with skin that isn’t clean (ie. no lotion, oils, etc.) as the chalkboard paints marks very easily.
So after reading all of these steps, I bet you know what Bryan knew before we started the project, don’t you? I went in thinking it would take one super long day, maybe two max. But the truth is we started it late afternoon on a Saturday, and didn’t finish it until the following Sunday. That’s 9 days total. Which seems like ALOT. That being said, due to drying times, some days we were only able to do a couple hours of work a day. And most days there was only ever one of us working at a time, due to our opposite January schedules! So yes – it absolutely took longer than expected. Would I have opted out of the project if I had known that? Absolutely not! The stencilled tiles completely change the look of our front hallway, make it brighter and also seem larger. Would I convince some friends to join me for a fun paint party for a day or two the next time I do this? Absolutely! The great thing about Cutting Edge Stencils is that they have stencils for everything – walls, furniture, even pillows. So if you’re not ready to commit to a large week-long floor project, you can still find fun, creative and cheap ways to spruce up your house!

